
27 Details Your Contractor Should Catch (But Most Do Not)
This kitchen remodel checklist covers the 27 small details that separate a great remodel from a frustrating one. Grout color, switch placement, appliance dimensions, outlet mapping. Print it, walk your project with it, and hold your contractor to every line.

Kitchen Remodel Checklist: Design Phase (Lock These First)
- Appliance dimensions confirmed. Get spec sheets for every appliance. Cabinets are built around them, not the reverse. A quarter inch of error ruins a built-in look.
- Appliance delivery path measured. That 36-inch fridge must fit through a 32-inch hallway. Measure the whole route.
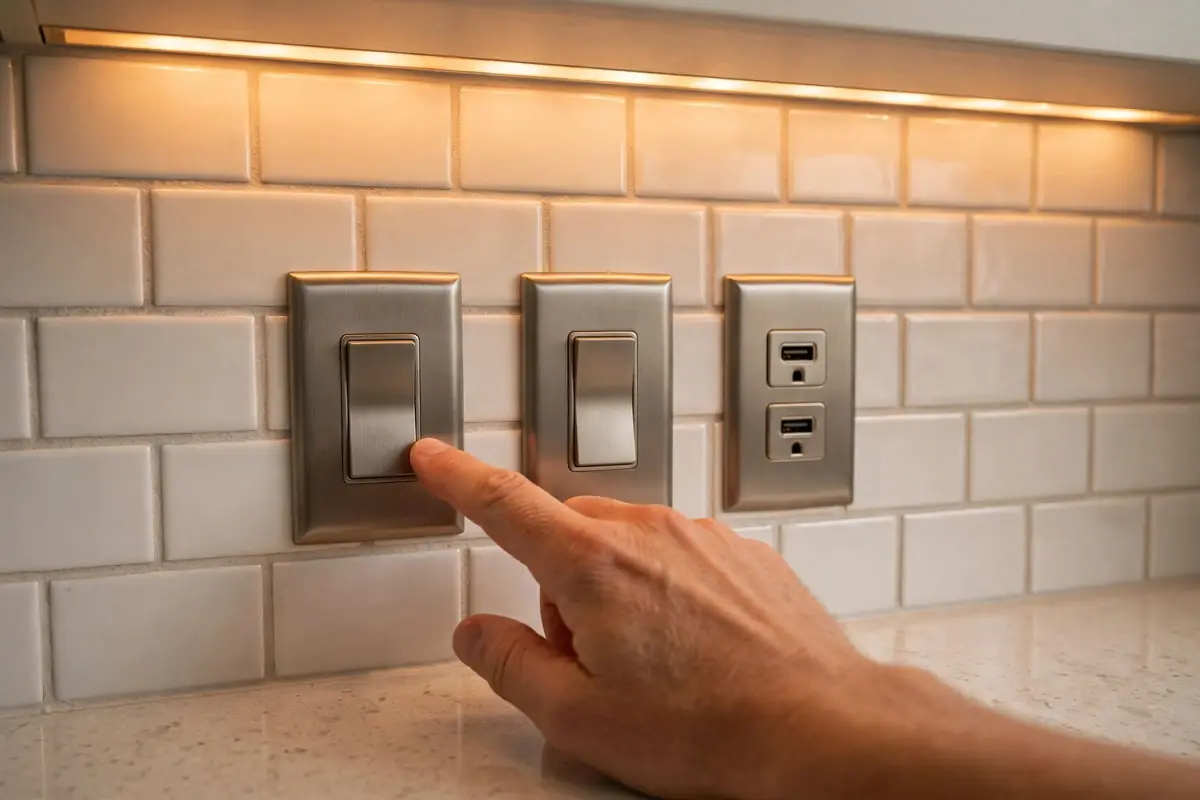
- Switch placement mapped. Decide which switch controls what before electrical rough-in. Nobody wants the disposal switch behind the coffee maker.
- Outlet mapping complete. Plan outlets for small appliances, phone charging, and under-cabinet zones. Code requires spacing, but convenience needs more.
- Under-cabinet lighting wired. The wiring goes in before drywall. Decide now or live without it. Our kitchen lighting design service plans all three light layers.
- Range hood vent path planned. Ducting through the roof or wall needs a route. Recirculating hoods are a compromise, not a plan.
- Grout color selected. Grout changes the whole backsplash look. Pick it with the tile sample in your actual lighting, not the showroom.
- Cabinet hardware style and size. Pulls need consistent spacing. Decide the size now so doors are drilled once.
- Sink and faucet chosen. The sink cutout is templated from the actual sink. No sink, no countertop template.
- Flooring transitions planned. Where the kitchen floor meets the hallway floor matters. Plan the transition strip type and location.
Kitchen Remodel Checklist: Build Phase (Watch These Daily)
- Cabinets level before counters. Countertops only fit right on level boxes. Check with a 4-foot level, not by eye.
- Plumbing pressure-tested. New connections get tested before walls close. Ask to see the test.
- Electrical inspection passed. Rough electrical gets inspected before drywall. No inspection, no cover-up.
- Tile layout dry-fitted. The installer should dry-lay the pattern so cuts land symmetrically. Awkward slivers at the edge mean bad planning.
- Countertop seams placed smartly. Seams belong in low-visibility spots, never across the main work zone. Digital templating helps.
- Backsplash outlet cutouts tight. Outlets should sit centered in tiles, not straddling grout lines. This is pure craftsmanship.
- Caulk lines clean. Caulk where counters meet walls and backsplashes. Gaps collect grime and water.
- Paint cut lines straight. Check where walls meet ceilings and trim. Wavy lines show in daylight.
- Hardware aligned. Every pull at the same height, every knob centered. Measure a few.
- Doors and drawers adjusted. Soft-close should actually close softly. Gaps should be even. This takes 20 minutes and most crews skip it.
Kitchen Remodel Checklist: Final Walkthrough (Before Final Payment)
- Every switch tested. Flip each one. Confirm it controls what you expect.
- Every outlet tested. Plug in a phone charger. All of them.
- Every appliance run. Run the oven, dishwasher, microwave, and disposal. Full cycles.
- Water run in every sink. Check hot and cold. Look under the sink for drips while it runs.
- Touch-up paint complete. Walk the room in daylight. Mark every scuff with painter tape.
- Punch list in writing. Every remaining item listed, dated, and signed by both sides.
- Warranty paperwork in hand. Get the written warranty before the final check clears. Our full kitchen remodel service includes it standard.
Why Punch-List Culture Matters
Most contractor disputes are not about big failures. They are about 30 small things nobody wrote down. A contractor with real punch-list culture welcomes your checklist. One who waves it away is telling you how the ending goes.
Never release the final payment before the walkthrough. That last 10 percent is your leverage. Once it clears, scheduling a callback takes weeks. Before it clears, fixes happen this week.
Frequently Asked Questions
A punch list is the final checklist of small fixes before you sign off and pay the balance. It covers touch-up paint, caulk gaps, hardware alignment, and anything that is not perfect. A contractor with a real punch-list culture walks the job with you and fixes everything before final payment.
Start the checklist during design, before anything is ordered. Details like appliance dimensions, switch placement, and outlet mapping must be locked before cabinets and electrical go in. Use the final punch-list version at the walkthrough before you release the last payment.
Switch and outlet placement, grout color, appliance dimensions vs cabinet openings, and range hood venting top the list. These get missed because they are decided late or never discussed. Locking them in the design phase prevents all of them.
Always. Never release the final payment before a full walkthrough with your punch list in hand. Test every drawer, door, switch, outlet, and appliance. Run water in every sink. Once the final check clears, your leverage for fixes drops to zero.
Put the details in writing in the contract or design agreement. Hold inspections at key stages: after framing, after electrical rough-in, before tile. Ask who your daily point of contact is. Contractors who welcome checklists do better work than ones who wave them away.
Related reading: 12 Kitchen Remodel Mistakes That Cost Homeowners Thousands and What Living Through a Kitchen Remodel Is Really Like.